
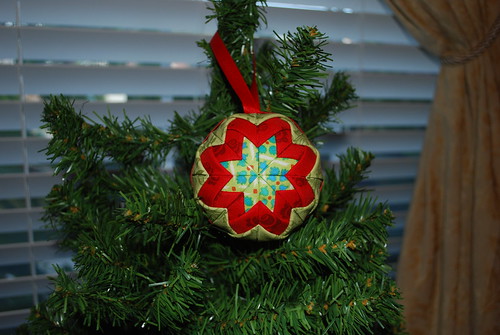
Hi! I'm Tammy from Karamat Sews. I'm a founding member of the Houston Modern Quilt Guild, and I'd like to share a tutorial with you for no-sew, folded fabric Christmas ornaments.

Supplies:
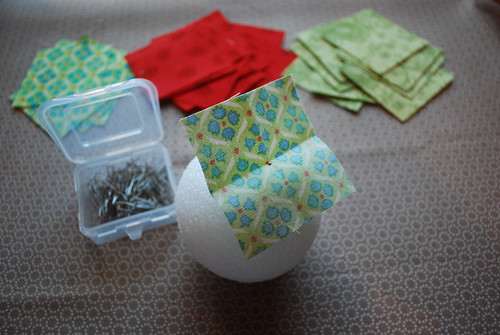
(8) 2.5-inch fabric squares (center of star)
(16) 2.5-inch fabric squares (first round of star)
(16) 2.5-inch fabric squares (second round of star)
(1) 3-inch Styrofoam ball
small, thin pins (lots and lots of pins!)
ribbon

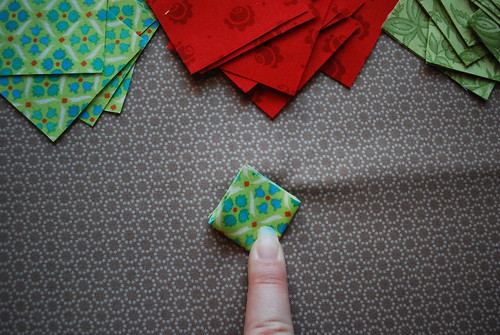
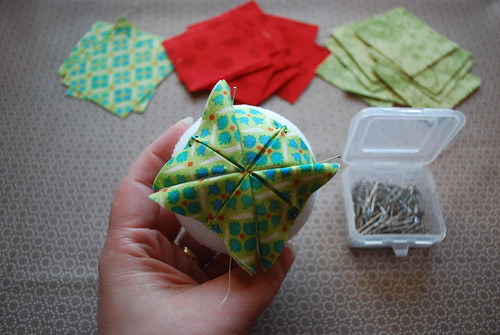
Step 1: Starting with your center fabrics, fold each piece into quarters and finger-press a crease.
Step 2: Open up the starting square, and push a pin through the center, just a couple of threads below the center crease line. Push the pin into the styrofoam ball.
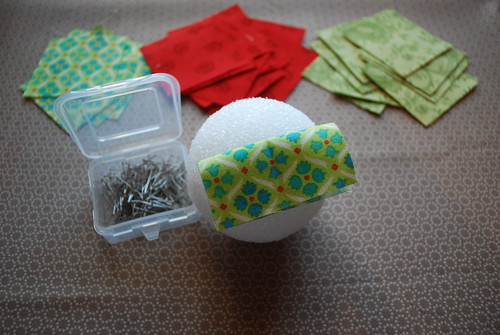
Step 3: Now we fold the first star point... fold the top half of the fabric down (covering the pin), and fold the right and left corners down, securing at the center with pins (I sometimes use pins at the bottom corners to hold the pieces in place until the next round of fabric.)

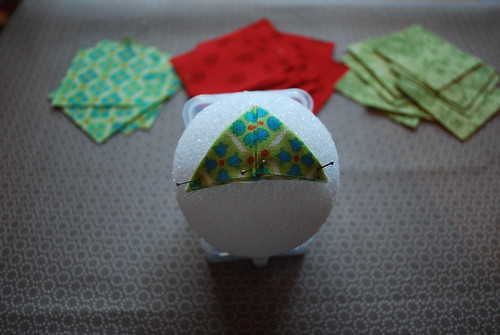
Step 5: Use the same folding technique to add the next layer. Add the first 4 pieces on top of the existing pieces, about 1/2" down from each point.
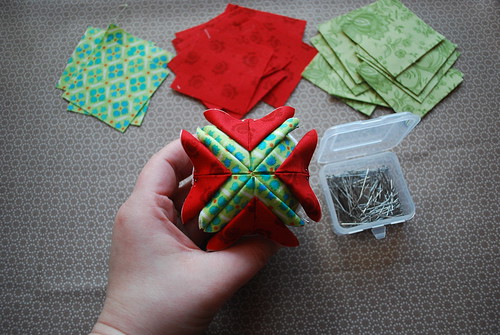
Step 6: Add 4 more points to complete the round (again, place them about a 1/2" down from the center of the ball)
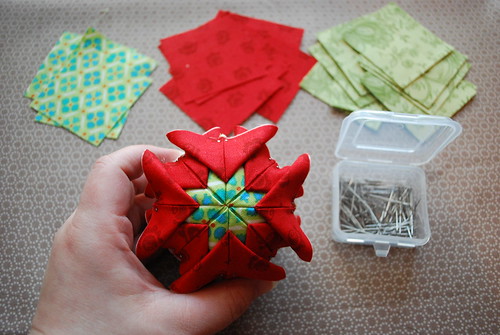
Step 8: Flip the ball over and repeat the process on the other side. Use additional pins to secure down any lose edges.
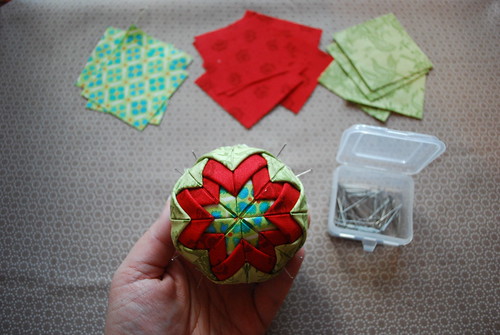
Step 9: Use an 8-inch length of ribbon to create a hanging lop (secure to the ball with pins), and wrap additional ribbon around the ball to hide the seam and pins.
Step 10: Hang on your tree and enjoy!
This is amazing Tammy! Mind = blown. I wish we could make this together- I'm sure I can do it as I understand your instructions but that's just crazy!!
ReplyDeleteWow, everything old is new again! We used to make these back in the early 80's Nice tutorial.
ReplyDeleteBetty
Shadywood Quilts
thankyou so much for this tutorial, i was thinking what should i give to my housbands parents for crhistmas ,because tehy live far and i cant buy expensive gifts,but always make them little crafts, and this idea is great,they are beautiful
ReplyDelete